State ব্যবহার করে ইনপুটের উপর প্রতিক্রিয়া
React UI ম্যানিপুলেট করার জন্য একটি declarative উপায় সরবরাহ করে। UI-র প্রতিটি টুকরো সরাসরি ম্যানিপুলেট করার পরিবর্তে, আপনি আপনার কম্পোনেন্টের বিভিন্ন state-র বর্ণনা করেন, এবং ব্যবহারকারীর input-র জন্য তাদের মাঝে switch করেন। এটি UI-র বিষয়ে ডিজাইনাররা কীভাবে চিন্তা করে, তার মতো।
যা যা আপনি শিখবেন
- কিভাবে declarative UI প্রোগ্রামিং imperative UI প্রোগ্রামিং থেকে আলাদা
- আপনার কম্পোনেন্ট যে বিভিন্ন ভিজ্যুয়াল অবস্থায় থাকতে পারে তা কীভাবে গণনা করবেন
- কোড থেকে বিভিন্ন ভিজ্যুয়াল স্টেটের মধ্যে পরিবর্তনগুলি কীভাবে ট্রিগার করবেন
কীভাবে Declarative UI Imperative UI-র সাথে তুলনা করে
আপনি যখন UI ইন্টারঅ্যাকশন ডিজাইন করেন, আপনি সম্ভবত ব্যবহারকারীর ক্রিয়াকলাপের প্রতিক্রিয়ায় UI কীভাবে পরিবর্তিত হয় সে সম্পর্কে চিন্তা করেন। এমন একটি ফর্ম বিবেচনা করুন যা ব্যবহারকারীকে একটি উত্তর জমা দিতে দেয়:
- আপনি যখন ফর্মে কিছু টাইপ করেন, তখন “Submit” বোতামটি সক্রিয় হয়ে যায়।
- আপনি যখন “Submit” বোতামটি টিপবেন, ফর্ম এবং বোতাম দুটোই নিষ্ক্রিয় হয়ে যায় এবং একটি স্পিনার উপস্থিত হয়।
- নেটওয়ার্ক অনুরোধ সফল হলে, ফর্মটি লুকানো হবে এবং “Thank you” বার্তাটি প্রদর্শিত হবে।
- নেটওয়ার্ক অনুরোধ ব্যর্থ হলে, একটি ত্রুটি বার্তা প্রদর্শিত হবে, এবং ফর্ম আবার সক্রিয় হয়ে যাবে ।
Imperative প্রোগ্রামিং-এ, আপনি কীভাবে ইন্টারঅ্যাকশন বাস্তবায়ন করেন তার সাথে উপরে কি লেখা আছে সরাসরি মিলে যায়। এইমাত্র যা ঘটেছে তার উপর নির্ভর করে UI ম্যানিপুলেট করার জন্য আপনাকে সঠিক নির্দেশাবলী লিখতে হবে। এটি সম্পর্কে চিন্তা করার আরেকটি উপায় এখানে রয়েছে: কল্পনা করুন যে একজন গাড়িতে কারও পাশে চড়ছেন এবং তাদের বলুন কোথায় যেতে হবে।
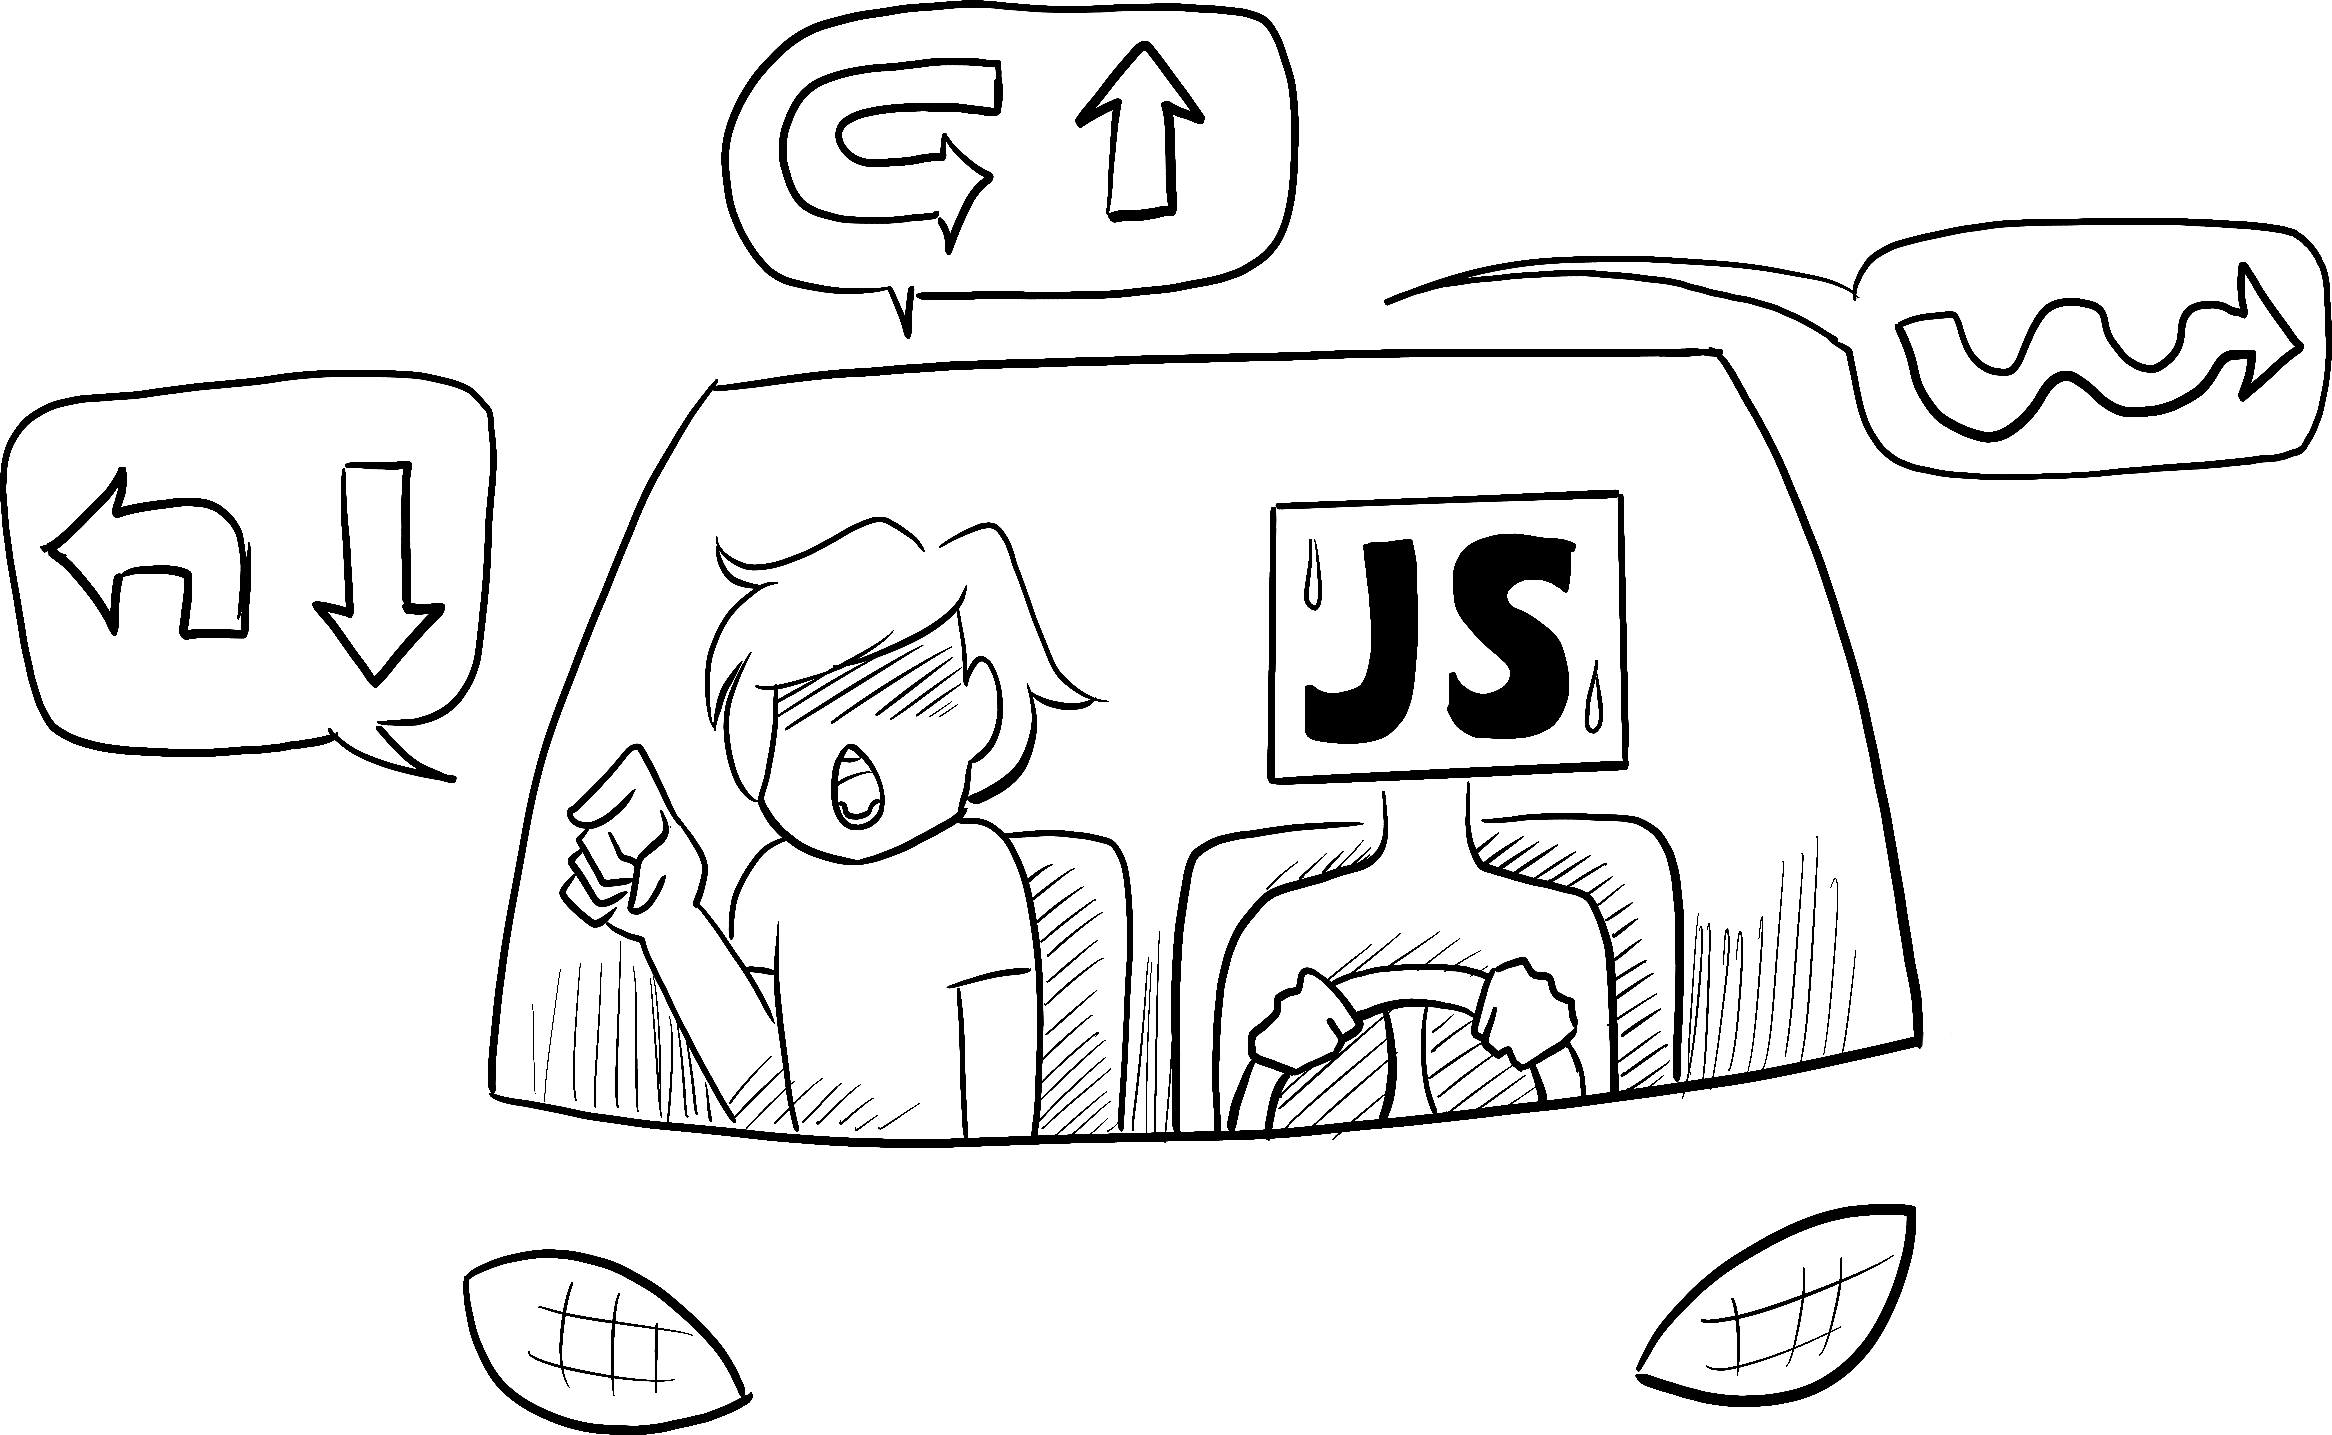
Illustrated by Rachel Lee Nabors
তারা জানে না আপনি কোথায় যেতে চান, তারা শুধু আপনার আদেশ অনুসরণ করে। (এবং যদি আপনি ভুল দিকনির্দেশ দেন, তাহলে আপনি ভুল জায়গায় পৌঁছে যাবেন!) এটাকে imperative বলা হয় কারণ আপনাকে স্পিনার থেকে বোতাম পর্যন্ত প্রতিটি কম্পনেন্টকে “কমান্ড” করতে হবে, কম্পিউটারকে কীভাবে UI আপডেট করতে হবে তা বলতে হবে।
Imperative UI প্রোগ্রামিংয়ের এই উদাহরণে, ফর্মটি React ব্যবহার না করেই তৈরি করা হয়েছে। এটি শুধুমাত্র ব্রাউজার DOM ব্যবহার করে:
async function handleFormSubmit(e) {
  e.preventDefault();
  disable(textarea);
  disable(button);
  show(loadingMessage);
  hide(errorMessage);
  try {
    await submitForm(textarea.value);
    show(successMessage);
    hide(form);
  } catch (err) {
    show(errorMessage);
    errorMessage.textContent = err.message;
  } finally {
    hide(loadingMessage);
    enable(textarea);
    enable(button);
  }
}

function handleTextareaChange() {
  if (textarea.value.length === 0) {
    disable(button);
  } else {
    enable(button);
  }
}

function hide(el) {
  el.style.display = 'none';
}

function show(el) {
  el.style.display = '';
}

function enable(el) {
  el.disabled = false;
}

function disable(el) {
  el.disabled = true;
}

function submitForm(answer) {
  // Pretend it's hitting the network.
  return new Promise((resolve, reject) => {
    setTimeout(() => {
      if (answer.toLowerCase() == 'istanbul') {
        resolve();
      } else {
        reject(new Error('Good guess but a wrong answer. Try again!'));
      }
    }, 1500);
  });
}

let form = document.getElementById('form');
let textarea = document.getElementById('textarea');
let button = document.getElementById('button');
let loadingMessage = document.getElementById('loading');
let errorMessage = document.getElementById('error');
let successMessage = document.getElementById('success');
form.onsubmit = handleFormSubmit;
textarea.oninput = handleTextareaChange;
UI ম্যানিপুলেট করা imperative ভাবে বিচ্ছিন্ন উদাহরণগুলির জন্য যথেষ্ট ভাল কাজ করে, তবে আরও জটিল সিস্টেমে এটি পরিচালনা করা দ্রুতগতিতে আরও কঠিন হয়ে যায়। এই মত বিভিন্ন ফর্ম পূর্ণ একটি পৃষ্ঠা আপডেট করার কল্পনা করুন. একটি নতুন UI উপাদান বা একটি নতুন ইন্টারঅ্যাকশন যোগ করার জন্য আপনি একটি বাগ (উদাহরণস্বরূপ, কিছু দেখাতে বা লুকাতে ভুলে গেছেন) তা নিশ্চিত করতে সমস্ত বিদ্যমান কোড সাবধানে পরীক্ষা করতে হবে
React বানানোই হয়েছিল এই সমস্যাটি সমাধান করার জন্য।
React-এ, আপনি সরাসরি UI-কে ম্যানিপুলেট করবেন না—অর্থাৎ আপনি সরাসরি কম্পনেন্টগুলি সক্রিয়, নিষ্ক্রিয়, দেখান বা লুকাবেন না। পরিবর্তে, আপনি কী দেখাতে চান তা ঘোষণা করেন এবং React ভেবে নেয় কিভাবে UI আপডেট করতে হবে। একটি ট্যাক্সিতে উঠার কথা ভাবুন এবং ড্রাইভারকে ঠিক কোথায় ঘুরতে হবে না বোলে বলুন আপনি কোথায় যেতে চান । আপনাকে সেখানে নিয়ে যাওয়া ড্রাইভারের কাজ, এবং তারা এমন কিছু শর্টকাটও জানতে পারে যা আপনি বিবেচনা করেননি!
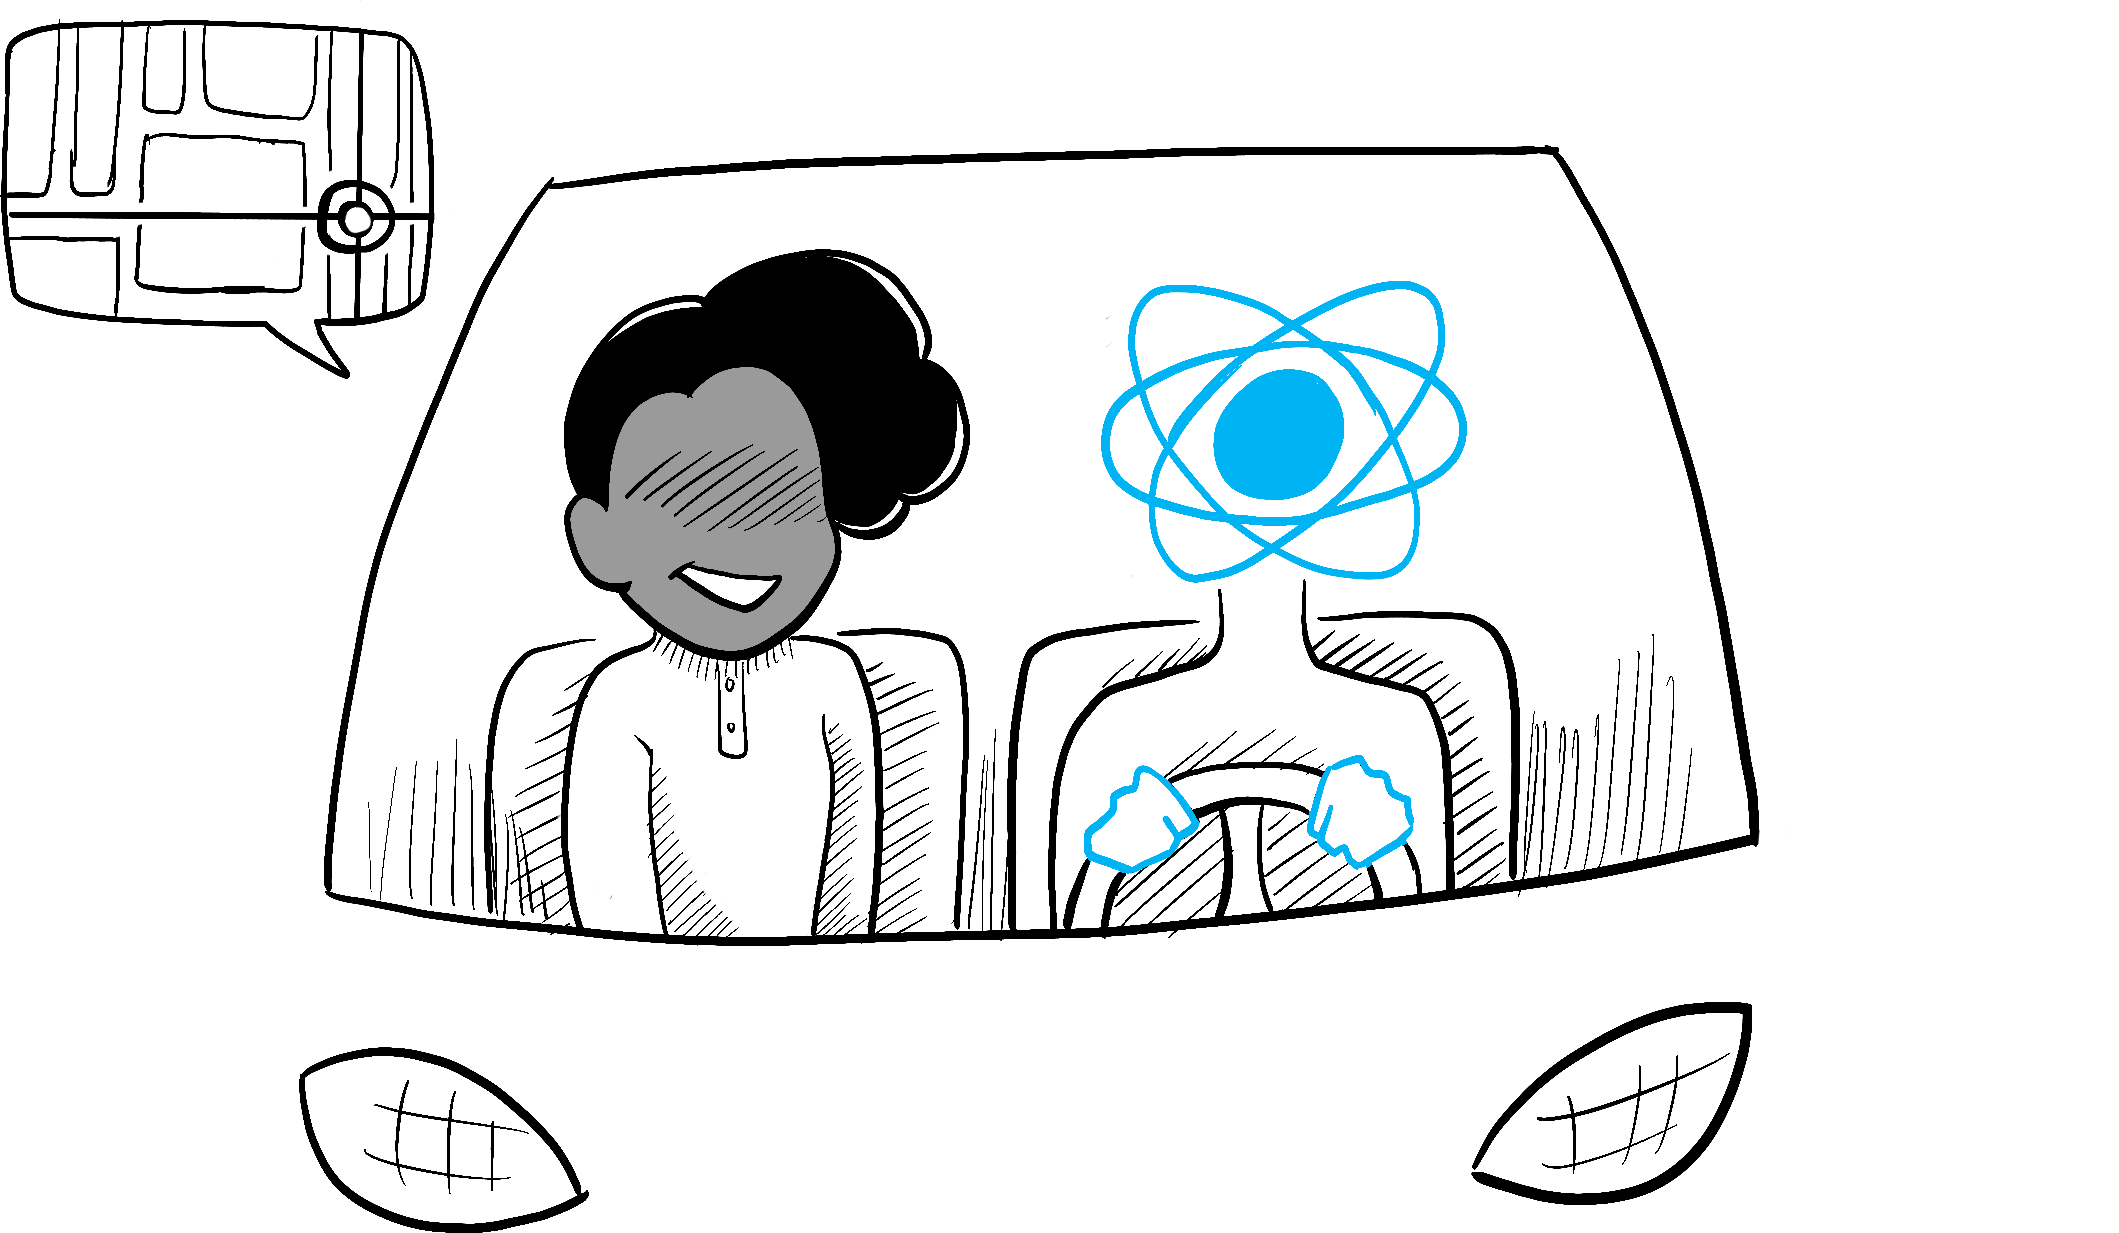
Illustrated by Rachel Lee Nabors
Declarative ভাবে UI সম্পর্কে চিন্তা করা
আপনি উপরে দেখেছেন কিভাবে একটি ফর্ম imperative ভাবে বাস্তবায়ন করতে হয়। React-এ কীভাবে চিন্তা করতে হয় তা আরও ভালোভাবে বোঝার জন্য, আপনি React-এ এই UI পুনরায় প্রয়োগ করবেন:
- কম্পোনেন্ট এর বিভিন্ন ভিজুয়্যাল states চিহ্নিত করা
- State-র পরিবর্তনের কারণ কী তা নির্ধারণ করুন
useStateব্যবহার করে মেমরিতে state-র প্রতিনিধিত্ব করুন- কোনো অপ্রয়োজনীয় state ভেরিয়েবল কে সরিয়ে দিন
- state সেট করতে ইভেন্ট হ্যান্ডলারদের সাথে সংযোগ করুন
Step 1: আপনার কম্পোনেন্টের বিভিন্ন ভিজ্যুয়াল state চিহ্নিত করুন
কম্পিউটার বিজ্ঞানে, আপনি শুনতে পারেন একটি “স্টেট মেশিন” বেশ কয়েকটি “state”-র মধ্যে একটি। আপনি যদি একজন ডিজাইনারের সাথে কাজ করেন তবে আপনি বিভিন্ন “ভিজ্যুয়াল state” এর জন্য মকআপ দেখে থাকতে পারেন। React ডিজাইন এবং কম্পিউটার বিজ্ঞানের সংযোগস্থলে দাঁড়িয়েছে, তাই এই দুটি ধারণাই অনুপ্রেরণার উৎস।
প্রথমত, আপনাকে ব্যবহারকারী দেখতে পারে এমন UI এর সমস্ত ভিন্ন “state” কল্পনা করতে হবে:
- Empty: ফর্মটিতে একটি নিষ্ক্রিয় “Submit” বোতাম রয়েছে।
- Typing: ফর্মটিতে একটি সক্রিয় “Submit” বোতাম রয়েছে।
- Submitting: ফর্ম সম্পূর্ণরূপে অক্ষম। স্পিনার দেখানো হয়।
- Success: একটি ফর্মের পরিবর্তে “Thank You” বার্তাটি দেখানো হয়েছে।
- Error: Typing অবস্থার মতো, কিন্তু একটি অতিরিক্ত ত্রুটি বার্তা সহ.
ঠিক একজন ডিজাইনারের মতো, আপনি যুক্তি যোগ করার আগে বিভিন্ন state-র জন্য “মকআপ” বা “মক” তৈরি করতে চাইবেন। উদাহরণস্বরূপ, এখানে ফর্মের শুধুমাত্র ভিজ্যুয়াল অংশের জন্য একটি মক। এই মকআপটি status নামক একটি prop দ্বারা নিয়ন্ত্রিত হয় যার একটি ডিফল্ট মান 'empty':
export default function Form({
  status = 'empty'
}) {
  if (status === 'success') {
    return <h1>That's right!</h1>
  }
  return (
    <>
      <h2>City quiz</h2>
      <p>
        In which city is there a billboard that turns air into drinkable water?
      </p>
      <form>
        <textarea />
        <br />
        <button>
          Submit
        </button>
      </form>
    </>
  )
}
আপনি এই prop-কে আপনার পছন্দ মতো নাম দিতে পারেন, নামকরণ গুরুত্বপূর্ণ নয়। সফলতার বার্তাটি দেখতে status = 'empty' থেকে status = 'success' পাল্টানোর চেষ্টা করুন। মকআপ করার ফলে আপনি যেকোন যুক্তি যুক্ত করার আগে দ্রুত UI-তে পুনরাবৃত্তি করতে পারবেন। এখানে একই কম্পোনেন্টের একটি আরও ফ্লেশ আউট প্রোটোটাইপ রয়েছে, যা এখনও status প্রপ দ্বারা “নিয়ন্ত্রিত”:
export default function Form({
  // Try 'submitting', 'error', 'success':
  status = 'empty'
}) {
  if (status === 'success') {
    return <h1>That's right!</h1>
  }
  return (
    <>
      <h2>City quiz</h2>
      <p>
        In which city is there a billboard that turns air into drinkable water?
      </p>
      <form>
        <textarea disabled={
          status === 'submitting'
        } />
        <br />
        <button disabled={
          status === 'empty' ||
          status === 'submitting'
        }>
          Submit
        </button>
        {status === 'error' &&
          <p className="Error">
            Good guess but a wrong answer. Try again!
          </p>
        }
      </form>
      </>
  );
}
গভীরভাবে জানুন
যদি একটি কম্পোনেন্টের অনেকগুলি ভিজ্যুয়াল state থাকে, তবে সেগুলিকে এক পৃষ্ঠায় দেখানো সুবিধাজনক হতে পারে:
import Form from './Form.js';

let statuses = [
  'empty',
  'typing',
  'submitting',
  'success',
  'error',
];

export default function App() {
  return (
    <>
      {statuses.map(status => (
        <section key={status}>
          <h4>Form ({status}):</h4>
          <Form status={status} />
        </section>
      ))}
    </>
  );
}
এই জাতীয় পৃষ্ঠাগুলিকে প্রায়শই “লিভিং স্টাইলগাইড” বা “গল্পের বই” বলা হয়।
Step 2: Determine what triggers those state changes
You can trigger state updates in response to two kinds of inputs:
- Human inputs, like clicking a button, typing in a field, navigating a link.
- Computer inputs, like a network response arriving, a timeout completing, an image loading.
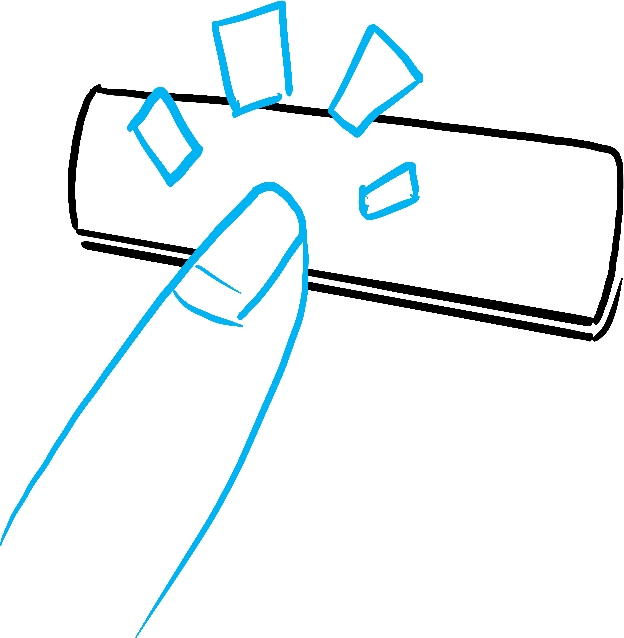

Illustrated by Rachel Lee Nabors
In both cases, you must set state variables to update the UI. For the form you’re developing, you will need to change state in response to a few different inputs:
- Changing the text input (human) should switch it from the Empty state to the Typing state or back, depending on whether the text box is empty or not.
- Clicking the Submit button (human) should switch it to the Submitting state.
- Successful network response (computer) should switch it to the Success state.
- Failed network response (computer) should switch it to the Error state with the matching error message.
To help visualize this flow, try drawing each state on paper as a labeled circle, and each change between two states as an arrow. You can sketch out many flows this way and sort out bugs long before implementation.
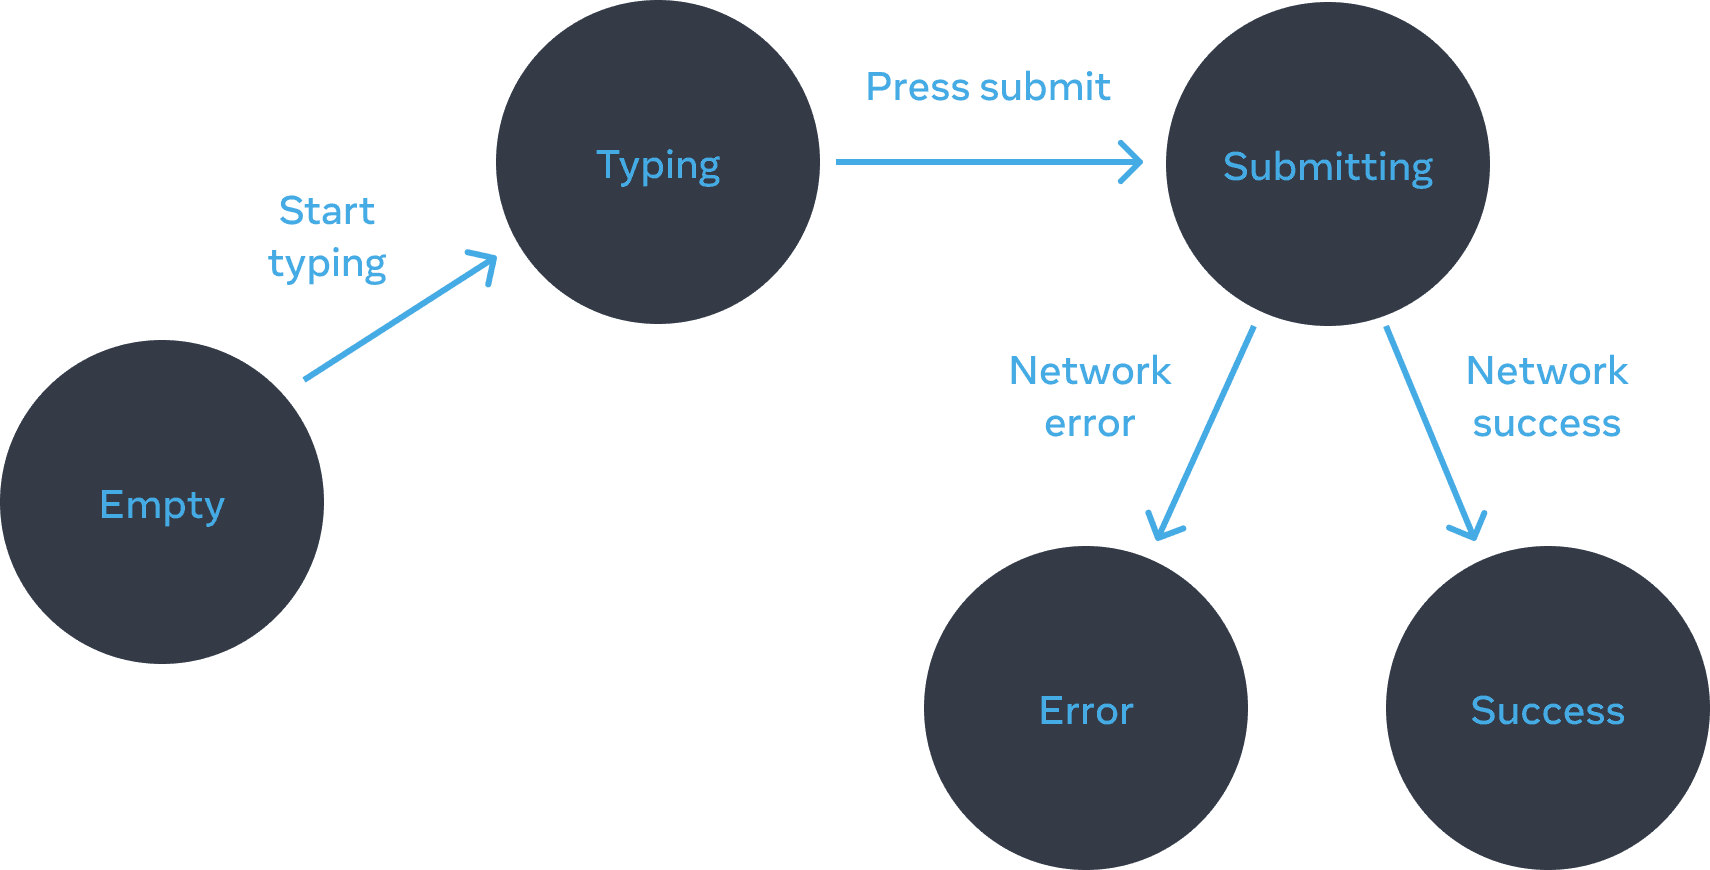
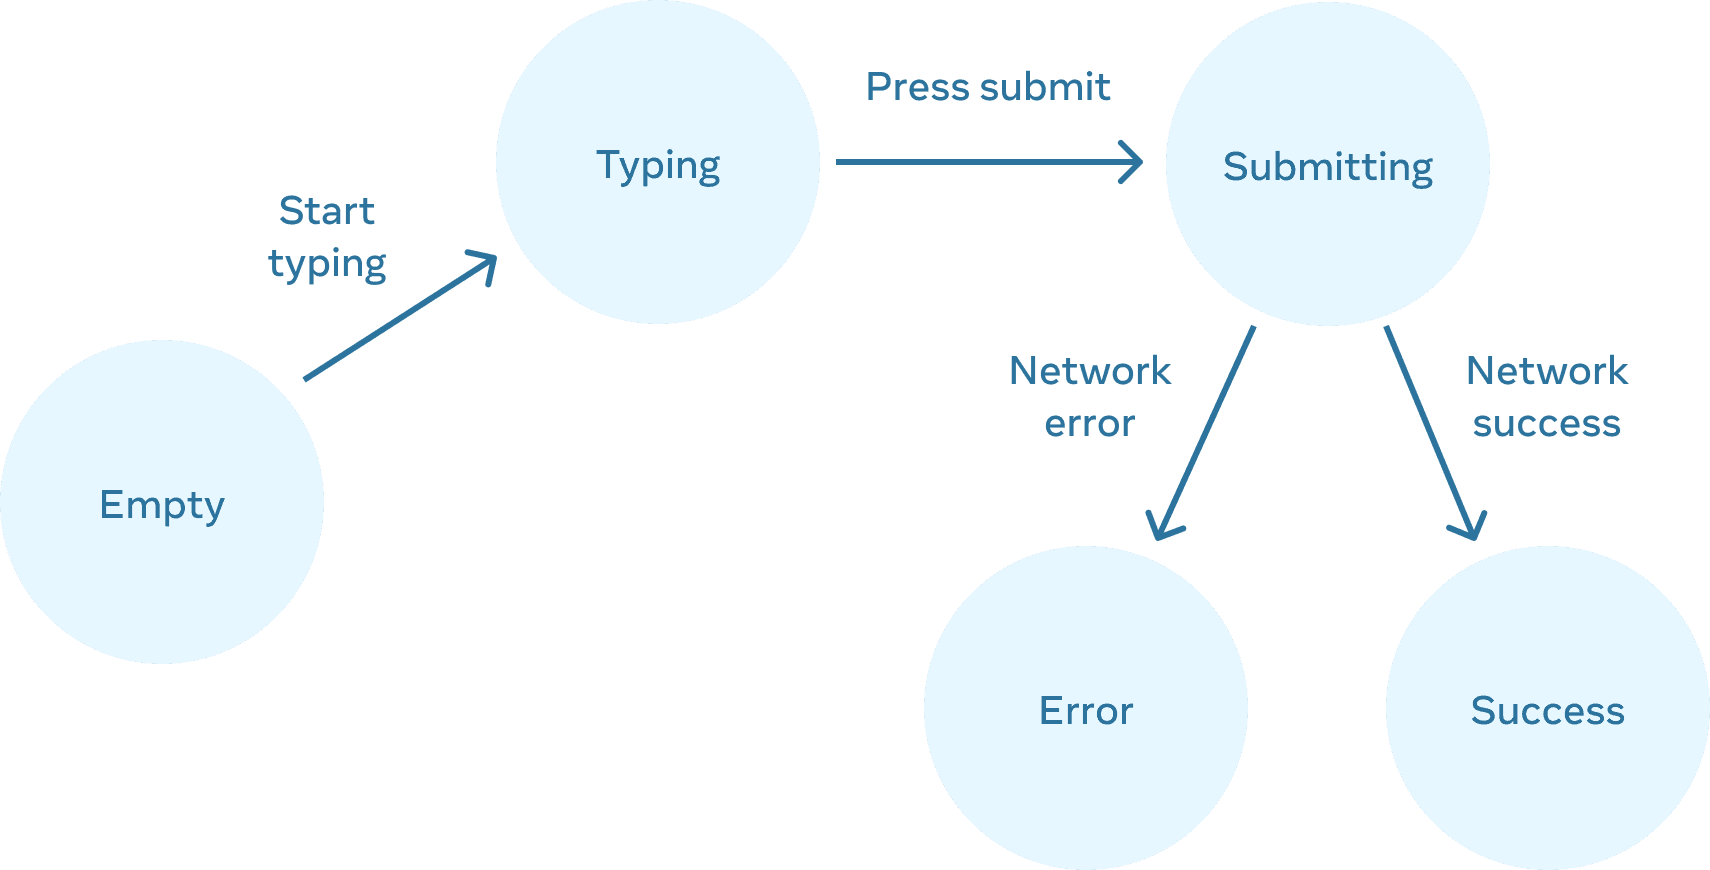
Form states
Step 3: Represent the state in memory with useState
Next you’ll need to represent the visual states of your component in memory with useState. Simplicity is key: each piece of state is a “moving piece”, and you want as few “moving pieces” as possible. More complexity leads to more bugs!
Start with the state that absolutely must be there. For example, you’ll need to store the answer for the input, and the error (if it exists) to store the last error:
const [answer, setAnswer] = useState('');
const [error, setError] = useState(null);
Then, you’ll need a state variable representing which one of the visual states that you want to display. There’s usually more than a single way to represent that in memory, so you’ll need to experiment with it.
If you struggle to think of the best way immediately, start by adding enough state that you’re definitely sure that all the possible visual states are covered:
const [isEmpty, setIsEmpty] = useState(true);
const [isTyping, setIsTyping] = useState(false);
const [isSubmitting, setIsSubmitting] = useState(false);
const [isSuccess, setIsSuccess] = useState(false);
const [isError, setIsError] = useState(false);
Your first idea likely won’t be the best, but that’s ok—refactoring state is a part of the process!
Step 4: Remove any non-essential state variables
You want to avoid duplication in the state content so you’re only tracking what is essential. Spending a little time on refactoring your state structure will make your components easier to understand, reduce duplication, and avoid unintended meanings. Your goal is to prevent the cases where the state in memory doesn’t represent any valid UI that you’d want a user to see. (For example, you never want to show an error message and disable the input at the same time, or the user won’t be able to correct the error!)
Here are some questions you can ask about your state variables:
- Does this state cause a paradox? For example,
isTypingandisSubmittingcan’t both betrue. A paradox usually means that the state is not constrained enough. There are four possible combinations of two booleans, but only three correspond to valid states. To remove the “impossible” state, you can combine these into astatusthat must be one of three values:'typing','submitting', or'success'. - Is the same information available in another state variable already? Another paradox:
isEmptyandisTypingcan’t betrueat the same time. By making them separate state variables, you risk them going out of sync and causing bugs. Fortunately, you can removeisEmptyand instead checkanswer.length === 0. - Can you get the same information from the inverse of another state variable?
isErroris not needed because you can checkerror !== nullinstead.
After this clean-up, you’re left with 3 (down from 7!) essential state variables:
const [answer, setAnswer] = useState('');
const [error, setError] = useState(null);
const [status, setStatus] = useState('typing'); // 'typing', 'submitting', or 'success'
You know they are essential, because you can’t remove any of them without breaking the functionality.
গভীরভাবে জানুন
These three variables are a good enough representation of this form’s state. However, there are still some intermediate states that don’t fully make sense. For example, a non-null error doesn’t make sense when status is 'success'. To model the state more precisely, you can extract it into a reducer. Reducers let you unify multiple state variables into a single object and consolidate all the related logic!
Step 5: Connect the event handlers to set state
Lastly, create event handlers that update the state. Below is the final form, with all event handlers wired up:
import { useState } from 'react';

export default function Form() {
  const [answer, setAnswer] = useState('');
  const [error, setError] = useState(null);
  const [status, setStatus] = useState('typing');

  if (status === 'success') {
    return <h1>That's right!</h1>
  }

  async function handleSubmit(e) {
    e.preventDefault();
    setStatus('submitting');
    try {
      await submitForm(answer);
      setStatus('success');
    } catch (err) {
      setStatus('typing');
      setError(err);
    }
  }

  function handleTextareaChange(e) {
    setAnswer(e.target.value);
  }

  return (
    <>
      <h2>City quiz</h2>
      <p>
        In which city is there a billboard that turns air into drinkable water?
      </p>
      <form onSubmit={handleSubmit}>
        <textarea
          value={answer}
          onChange={handleTextareaChange}
          disabled={status === 'submitting'}
        />
        <br />
        <button disabled={
          answer.length === 0 ||
          status === 'submitting'
        }>
          Submit
        </button>
        {error !== null &&
          <p className="Error">
            {error.message}
          </p>
        }
      </form>
    </>
  );
}

function submitForm(answer) {
  // Pretend it's hitting the network.
  return new Promise((resolve, reject) => {
    setTimeout(() => {
      let shouldError = answer.toLowerCase() !== 'lima'
      if (shouldError) {
        reject(new Error('Good guess but a wrong answer. Try again!'));
      } else {
        resolve();
      }
    }, 1500);
  });
}
Although this code is longer than the original imperative example, it is much less fragile. Expressing all interactions as state changes lets you later introduce new visual states without breaking existing ones. It also lets you change what should be displayed in each state without changing the logic of the interaction itself.
পুনরালোচনা
- Declarative programming means describing the UI for each visual state rather than micromanaging the UI (imperative).
- When developing a component:
- Identify all its visual states.
- Determine the human and computer triggers for state changes.
- Model the state with
useState. - Remove non-essential state to avoid bugs and paradoxes.
- Connect the event handlers to set state.
Challenge 1 of 3: Add and remove a CSS class
Make it so that clicking on the picture removes the background--active CSS class from the outer <div>, but adds the picture--active class to the <img>. Clicking the background again should restore the original CSS classes.
Visually, you should expect that clicking on the picture removes the purple background and highlights the picture border. Clicking outside the picture highlights the background, but removes the picture border highlight.
export default function Picture() {
  return (
    <div className="background background--active">
      <img
        className="picture"
        alt="Rainbow houses in Kampung Pelangi, Indonesia"
        src="https://i.imgur.com/5qwVYb1.jpeg"
      />
    </div>
  );
}